Skip to content
Search
Popular Products
Spawn Fly Fish
Articulated Shanks in Multi Lengths
$5.25
Flymen Fishing
Fish-Skull Next Generation Articulated Shank
$8.95
Flymen Fishing
Next Generation Micro Shank
$8.95
Partridge
V1SS Waddington Shank
$9.45
Firehole Outdoors
Straight Shanks
$7.95 $6.74
Flymen Fishing
Fish-Skull Senyo's Articulated Shank
$9.95
homepage-hero-7

Fly Tying

Browse our library of articles for patterns, tutorials, reviews, expert advice, and more from seasoned anglers and fly tyers.
Fly Tying Room

Winter Fly Tying

Maybe you’re one of those hard-core types who fly fishes all winter. Or perhaps you have the means and opportunity to travel, and pursue your fishing in warmer climes. If not, by the time December rolls around you have most likely packed up your gear until spring.
Pheasant feathers

Versatile Fly Tying Materials – Pheasant Feathers

Pheasant, in particular the feathers of the Common or Ring Neck Pheasant, couldn’t be more versatile—"able to adapt or be adapted to many different functions or activities” for the fly tyer. 
Fly Tying Beads

Beginner Fly Tying: Matching Fly Hook and Bead Size

Beads are a common and versatile component used in fly tying. Beads serve various purposes in fly tying and can enhance the effectiveness, attractiveness, and functionality of your flies. Here's some key information about beads for fly tying.
fly fishing hook anatomy

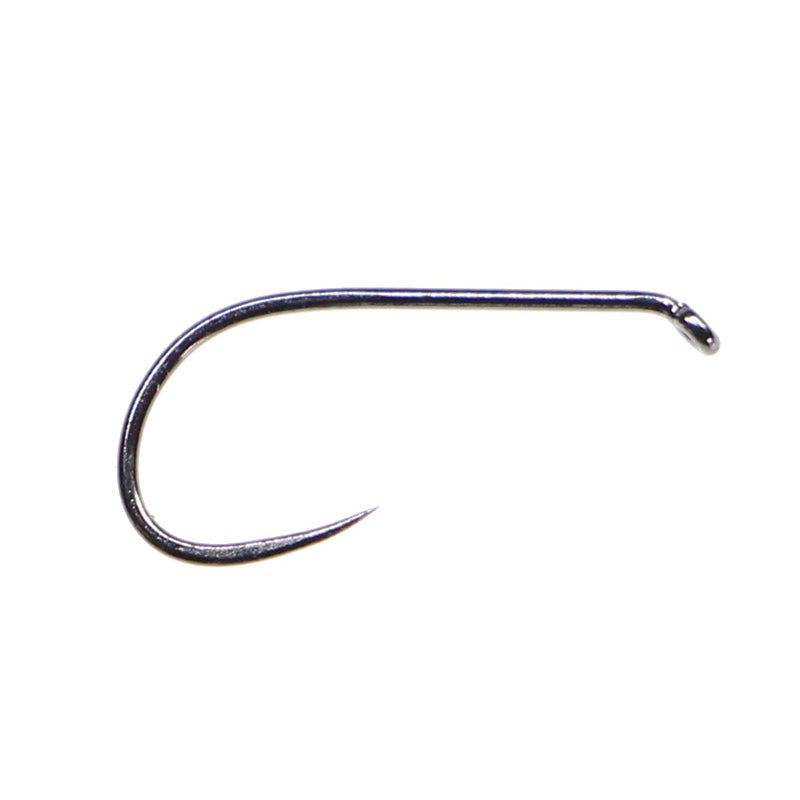
Beginner Fly Tying: Understanding the Anatomy of a Fly Fishing Hook

The first step in any fly recipe is ‘choose your fly hook’! Therefore, understanding the various shapes, components, or parts of a fly hook, the ‘ fly hook anatomy’, is a great place for any beginner fly tyer to start.
Anadromous Scissors

Anadromous Fly Company Fly Tying Scissors

J. Stockard Pro Tyer John Satkowski reviews Anadromous Fly Company and their line of high-quality, reasonably priced fly tying scissors.
poly dun

The Poly Dun PMD Fly Recipe

The Poly Dun Poly Dun PMD Fly Recipe Hook: 2X-fine dry-fly hook, size 16. Thread: Light tan 14/0. Wing post: Medium gray polyester yarn. Tail: Five strands of brown and five strands of yellow Microfibbets. Body: Yellow synthetic dubbing such as Superfine Dubbing. Rib: A single strand of yellow embroidery thread. To learn how to tie this fly pattern, visit our friends at the Fly Tyer magazine website for step-by-step instructions.
parachute post material test

Parachute Post Duel: Picking the Best Color and Material

Guest Blogger: Joe Dellaria, Learning from the River  Years ago, I thought parachute style flies were an unnecessary curiosity. Slowly over the years, I have come to appreciate them more and more. Over the last couple of years, they have become part of my core group of “go-to flies.” By the time this is posted, two of my earlier posts detailed using parachute flies (Bobber Fly Fishing and Speed Nymphing – It Really Can Work!). I believe there are two issues that influence how effective these flies can be: post color and post material. Choosing the Best Color - Seeing the parachute fly on the water is a key issue. If you can’t find the fly, it is tough to know when to set the hook. I first ran into this issue several years ago on my second trip out west to fish the Madison. Our guide had given us a list of places to try on the days we weren’t fishing with him. It was mid-afternoon on our first day alone and fish were rising all over the place. It was BWO hatch and the fish preferred an emerger pattern, but I could not see the fly on the water. The angle of the sun caused the fly to disappear in the glare on the water. I elected to use a two-fly rig with a hi-vis lead fly and the emerger as the dropper. White, yellow, and even orange hi-vis post materials all disappeared in the sun’s glare. Out of desperation, I put on a flying ant pattern with a red post. Eureka, I could see the ant and that helped me locate the emerger. Better yet, the fish split fairly evenly between the two flies. It was mid-April – not your typical time for a flying ant hatch – but if that’s what the fish like, that’s what I was going to give them. Over the ensuing years, I have found through trial and error, which post colors work best, in different conditions. The chart below summarizes my experiences. Others may, or may not agree. That’s fine, as in the end the fly has to be visible to the one using it whether or not others agree. I use these basic colors. There are numerous other shades of each color and other colors. I try to minimize the number of flies I have. This set seems to cover most situations. Fishing Situations Vs. Parachute Post Color    Red  White  Hi-Vis Orange  Hi-Vis Chartreuse  Sun Glare  Best   Not Visible  Partially Visible to Not Visible  Rarely Visible to Not Visible Foamy Water in Daylight  Best  Rarely Visible to Not Visible  Good Partially Visible to Not Visible Foamy Water in Low Light  Partially Visible to Not Visible  Partially Visible to Not Visible  Best Partially Visible to Not Visible  Low Light (Sunrise/Sunset)  Partially Visible to Not Visible  Good/Best  Good to Partially Visible Good Shade  Partially Visible to Not Visible Good/Best  Best Good If you are like me and want to carry the fewest possible flies, I would recommend carrying sizes #12, #14, and #16 with red posts for sun glare situations and hi-vis orange for low light conditions. I cheat and carry a couple of #12 white posts for sunrise and sunset. However, I would suggest you experiment and determine which colors are most visible for you. Choosing the Best Material - I have evaluated numerous qualities* to evaluate the different post material and whittled it down to the following list: Visibility – how well does the material show on the water Durability – how well does the material hold up to catching numerous fish Weight – the weight of the post material can cause the fly to lose flotation, lighter materials require less treatment with a floatant Water Shedding – how well does the material shed water during false casting, if the material holds water it adds weight causing the fly to sink Bulkiness – how much bulk does the material cause during tying, bulkiness makes it difficult to get a fly body with proper proportions Stiffness – how easily is the material crushed to flatten the post, this can occur in your fly box or after catching multiple fish, once the post crushes it is more difficult to see the fly on the water *These are terms I made up. It is purely coincidental if you happen to find other sources that refer to the qualities I am considering. I actually assessed other qualities but eliminated them, as they did not provide differences between the post materials considered. I tied a #12 parachute fly with each of the following materials: 1- Calf Tail, 2- Poly Yarn, 3 - Dyed Deer Hair, 4 - Z-Lon Post, 5 - SLF Fine Dubbing, 6 - Para Post (Orange) and 7 - Neer Hair. All but one were tied with red (Para Post was tied with ii-vis Orange). Front and Top view pictures are below. All of these post materials are available at J. Stockard!  TOP VIEW OF PARACHUTE FLIES  TOP VIEW OF PARACHUTE FLIES  The pictures provide a sense of how well the fly might show on the water. One of the problems is consistently getting the same amount of post material for each fly – obviously, I was not that consistent. However, you get the picture. I have fished with each type of post material and made a table assessing on a scale of 1 to 5 how well each post material fulfilled the qualities discussed above. One is the lowest score indicating the material was poor for the quality and five is the highest indicating it was best. This is a qualitative rating, as I did not attempt to use measurements of some sort. So take this as an attempt to be semi-scientific. The table below tabulates my scores for seven post materials for the six qualities. Table Rating Post Materials in Six Qualities   1-Calf Tail  2-Poly Yarn  3-Dyed Deer Hair  4-Z-Lon Post  5-SLF Fine Dubbing  6-Para Post  7-Neer Hair  Total   23   22   23   28   22   23   28   Visibility 5 3 5 4 5 3 4 Durability 5 3 4 5 2 3 5 Weight 3 5 3 3 5 5 5 Water Shedding 3 4 3 5 3 4 5 Bulkiness  2 4 3 5 5 5 5 Stiffness   5 3 5 4 2 3 4 Neer Hair and Z-Lon Post scored identically in all categories and had the highest score. The only differentiating factor between the two is cost. Neer Hair is about 3-times less expensive than Z-Lon. For that reason, it is my top choice. You can look at the ranking table to make other comparisons. Below I summarized the pros and cons of each material in another chart. Again, these are my opinions based on my experience. I would be happy to hear from others who differ. Pros and Cons of Each Post Material Post Material  Pros  Cons  1-Calf Tail Excellent Visibility, Durability, and Stiffness It is bulky and heavy and requires more frequent floatant treatments. It sheds water well initially, but once it absorbs water, it is even heavier.  2-Poly Yarn Excellent on weight and Very Good for water shedding and bulkiness  The colors tend not to be as vibrant so they don’t show as well on the water. It is softer and tends to crush easily.  3-Dyed Deer Hair Excellent on visibility and stiffness.  It is bulky for tying and is heavy requiring more frequent floatant treatments. It also water logs fairly quickly.  4-Z-Lon Post Excellent durability, weight, water shedding, and low bulkiness  The fibers are thin and don’t show on the water quite as well as the best ones, but still quite visible.  5-SLF Fine Dubbing The best visibility in the group and low bulkiness make it easy to tie  It is very soft, crushes, and deforms easily. It floats extremely well but becomes water logged after a couple of fish and is difficult to dry  6-Para Post A very light material with low bulkiness make it easy to tie  I think the crinkled texture makes it harder to see on the water. It is a softer material that crushes easily  7-Neer Hair  Excellent durability, weight, water shedding, and low bulkiness  The fibers are thin and don’t show on the water quite as well as the best ones, but still quite visible.  A Quick Tying Tip - I don’t recall where I saw this first. My preferred method for attaching post material is to hold the post material parallel to the length of the hook and make 3-4 wraps around the post material and hook. Then pull the two ends of the post together and lift up from the hook. Now wrap thread 1/8”-3/16” up the post and back to the post. Another slick trick is to add a drop of cyanoacrylic (CAN) to the thread wrapped post area. This stiffens the area making it easier to wrap the parachute hackle. So there you have it. My experience indicates that Neer Hair scores high in all the qualities assessed and is substantially less expensive than Z-Lon. So it is my preferred material for parachute posts. After the top two, all of the other materials were essentially the same. There were trade-offs between the different qualities. In a pinch, any of these materials are serviceable. If you need help on methods for tying a parachute fly, you can find numerous videos with a quick internet search on “tying a parachute fly.” I recommend watching 3-4 as each tier offers something you might find helpful. Now comes the fun, using the flies to catch trout. Go get them!
girdle bug flies

My Love Affair with the Girdle Bug Fly

Blogger Joe Dellaria tells the back story of the girdle bug, an easy-to-tie, durable fly. He then goes in depth on how to tie it, useful variations, and the products he finds work best to tie this reliable fly.
Drowned Hopper Fly

Drowned Hopper Fly – a Life Saver

I assumed the grasshopper was floating (I find assumptions most often get me into more trouble!). I kept thinking about this as I had been using a grasshopper for over a month and had caught a few browns and turned a couple of decent fish in riffles that had missed the fly (I have often wondered whether lending these trout my trifocals would help them see the fly better!). None of the fish I had seen were anywhere near 16”. Eventually it occurred to me, maybe the grasshopper wasn’t floating. I asked him at church the next week.
Showing 72 of 94

Your Cart ( 0 )

You're $100.00 away from free standard shipping
0
Your cart is currently empty.